April 25, 2012

Test twice, solder once

Basic saying goes "measure twice, cut once", and I'm glad I didn't rush through wiring my headlight and tested before soldering & securing the headlight on. As I twisted on the wire nuts, connected the -ve of battery, and powered on the ignition the headlight went on as expect, nice! Then I flicked on the high-beam, bam, high-beam. Then I flicked off the high-beam... I tried flicking the high-beam off again... high-beam is still on.

I doubt that folks at the safety inspection would accept that the latching high-beam is a 'feature', so posted to my favorite forum, addressing some of the very experienced S3 experts on there, here is that account. One of these S3 wizzes suggested that I must have wired the lights in a sort of latch, which absolutely made sense, as did the winging diagrams he sketched to explain it.

The explanation to the latching was that for the two S3 original lights, one of them is wiring straight to the high-beam switch, and the other to the high-beam relay. As I connected the two wires to the single wire of the Monster headlight this created a circuit between the relays input and output, effectively creating a latching relay. The kicker is that Triumph's official workshop manual wiring diagrams are not accurate, but mere rough sketches... good thing for people that really know what they're doing.

April 23, 2012

Coming together

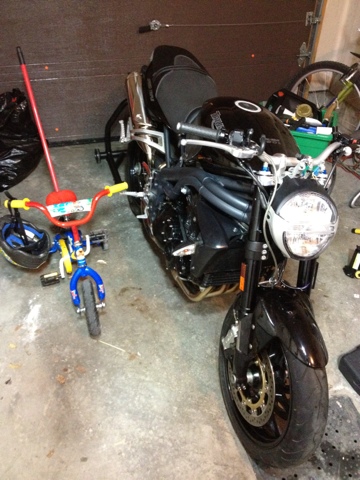
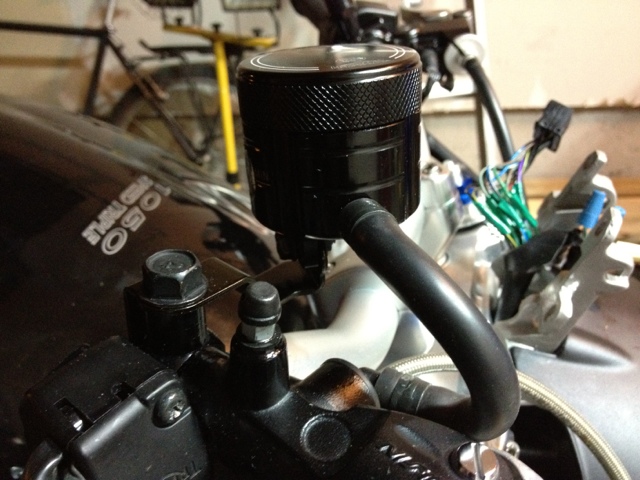
The triple has really come together in the last week. As an aside: it's fun how new jobs are intimidating, and after having worked through slowly the first time they then seem like a 'piece of cake' in hind sight. For example, setting up the breaks for the first time was definitely intimidating, seeing how critical a component that is. In the end it was pretty simple...

... I say in the end, as the breaks are the ones that had me scratching my head for a bit. I had filled the lines and then bleed them quite thoroughly. But as I tested the lever it kept getting soft. Tried bleeding again, no air coming out... "what's the deal? am I missing some special trick?". Then, as I noticed a puddle of fluid on the ground it turned out that the master cylinder banjo was loose (came loose in the crash?) and required some tightening. There quite a bit of travel in the lever before pressure in the cylinder, but when it does go on, it's SOLID.

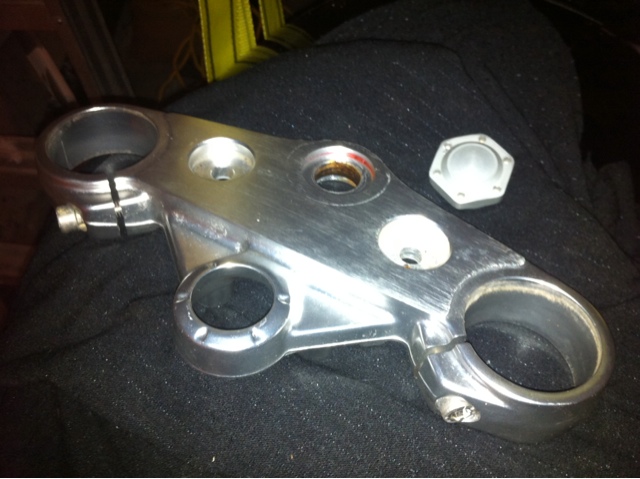
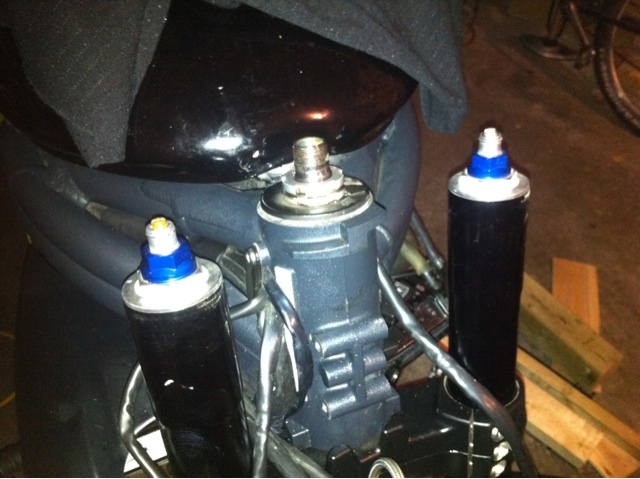
The meat of the work was in mounting the triple tree, fork, wheel & breaks. That was time consuming, but in hind sight I could do it 2x as fast next time, not having to use references at each step of the way, and generally feeling more knowledgeable at each step.

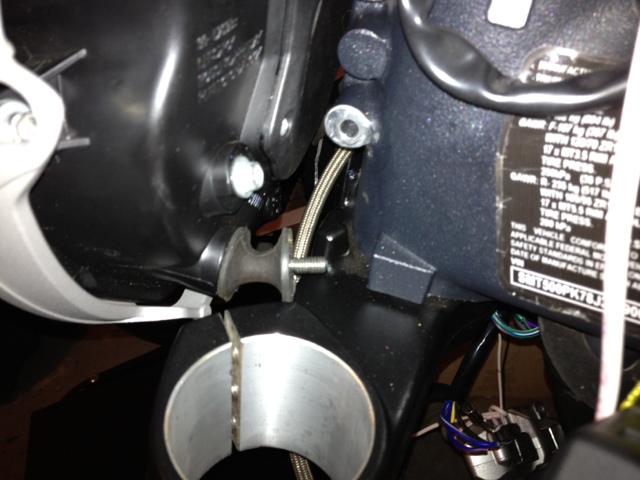
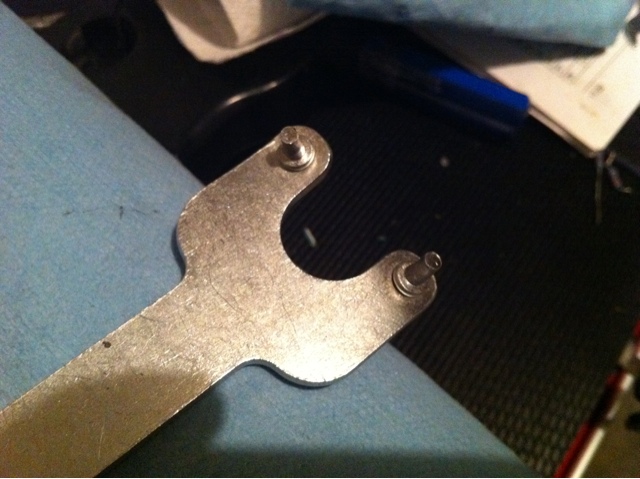
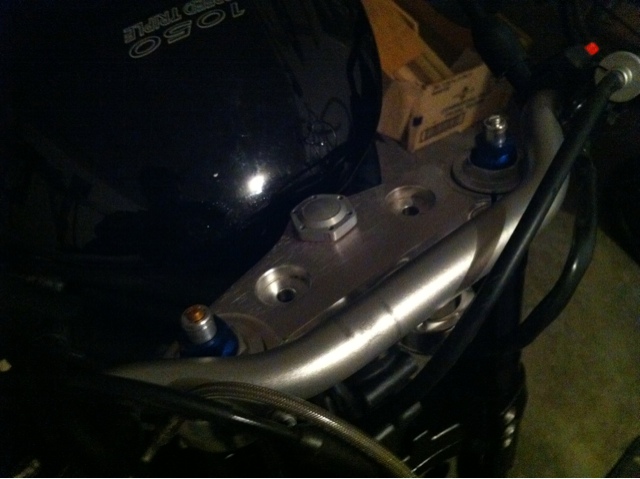
The custom fabbed headlight mount went on the bike quite nicely after filing down the steering stops a tad. Will connect up the lighting system to check the level of the lights in case last bit of adjustments have to be made to the brackets.

As for another bit of 'custom fabrication' I love how the Monster turn signals turned out on the triple. First off their better quality items; and their modern design fits quite nicely on the rad covers of the '08 triple. They required a bit of tedious work with the dremel, but were worth every penny. Take a look at the comparison shot with once droopy original signal, and the other the new Monster one.


March 28, 2012

Spring sprint

After having relaxed through the winter, possibly overconfident in the progress I had made with the electricals, I'm now back at putting it all together. The first thaw is the most exciting part of riding up here in the colder climates.

After acquiring yet another couple special tools I completed the front disassembly. While on the subject, my favorite tool thus far is a custom fabricated front axle driver: a chunk of hexagonal brass stock which; after some TLC with and angle grinder the bit fit like a glove.

Next was the final trial for the headlight. It seems that the mounting points will be aright fit as the Triple's bottom clamp is quite beefier than the donor monster's. Not too worry, my trusted machinist had a couple good ideas, and in the end we chose to actually redo the top mounting bracket for the cleanest install.

One oddity I found during the whole of front deconstruction is the strange gunk / corrosion on the top thread of the steering stem. This is the reason why takin off that top nut was so difficult. I don't think it's any sort of thread lock as the shop manual doesn't call for any here, nor should it look this strange. Certainly looks bad if it is corrosion... In any case I will be sure to apply tad of grease here on reassembly.


November 2, 2011

Hung the bike from ceiling

What are you gonna do as you are again short of fancy equipment, this time a bike lift... hang the bike from the garage ceiling! It worked out quite nicely, will just feed the steel cable through another brace before installing in framing permanently.

Backtracking a bit: I got the damn headstock top nut off, using a gonzo (to obscene to be pictured) 38mm socket. Worked like a charm. I quickly realized that there was no way that top triple was coming off with the forks on. Using the jeeps bottle jack (seen in pic) the bike was way too unstable, and so short of some fancy bike lift I figured I'd just hang the bike up.

Top triple came off the stem, although very relunctantly... do bikes really get that little grease at assembly?? It's one ready for having the light fixed onto it. BTW, I'm not shoeing the light in pieces, I was the atrocity (ducati light on triumph) on full display after it's done.

October 31, 2011

BS proprietary tools

This is going to be a rant, not a blog post. Came back home happy to have found a great contact for hacking up the top triple for fixing up the headlight. Ready to bring the top triple to get it sliced, I got to work in removing it off the bike. I didn't get very far...

Is it really required that manufacturers create proprietary tools for their machines? Would a large nut fixing the top triple to the tree not suffice??

My attempt at removal of the nut #1: mutilate my angle grinder pin spanner to fit the job. This required I stick in the vice and stretch the non-adjustable pins outward, and grind the pins down a size. With wheel between my knees I gave a heave, with result being a irreparably mangled spanner, bloody knuckle, and scratched nut (on the top triple!).

Attempt #2, I tried an adjustable wrench, with an effect of only further scratching up nut. I refuse to buy the specialized tool, an after licking off my wounds (to knuckle and ego) I will try a plain 38mm socket.

October 28, 2011

It's alive! It's ALIVE!

That's right, I've got the engine running, and what music to my ears! I will not mention the embarrassing last gaffe I had made... ok, let's just say I got all the complicated instrument wires right (puzzling wiring mentioned in last post), but then went color blind on red vs brown at the ignition switch.


I'll admit, I've been down in the garage a couple of recent evenings just to start her up and listen to that triple sound before hitting the sack. It made for good dreams.

This evening I spent some time on rough investigation on how I might be able to replace the instruments, which are in bad shape but seem to be required for starting the bike up. There are some wild theories/reports out there that the instruments can be replaced by placing a 120Ohm resistor across the KL (short for K & L lines of the ISO 9141 interconnect, also incorrectly referred to as the CAN bus) bus wires at the instrument, but have not seen a post that would confirm this for late Speed Triple, nor have I been able to do this on my bike.

On disconnecting the red and blue KL wires and placing a 120Ohm resistor in the instrument's place the bike will not start. This is apparent as soon as the engine kill is toggled since the fuel pump will not prime (no pleasing whirring sound from underneath the tank). Not only that but it seems some basic basic lights on the cluster such as N are also driven by the KL; ie this advanced bus is not limited to fancy metrics like fuel consumption etc.

I think I may be erring towards reusing the roughed-up but function original cluster is version 1.0 of the bike. Should be easier to get it safetied this way too.